If you are new to Revit MEP and you are wondering how you can change a pipe material or create a pipe with your own choice of material, this article is for you. If you feel overwhelmed with your project and need Revit MEP modeling services, please contact NovelBIM.
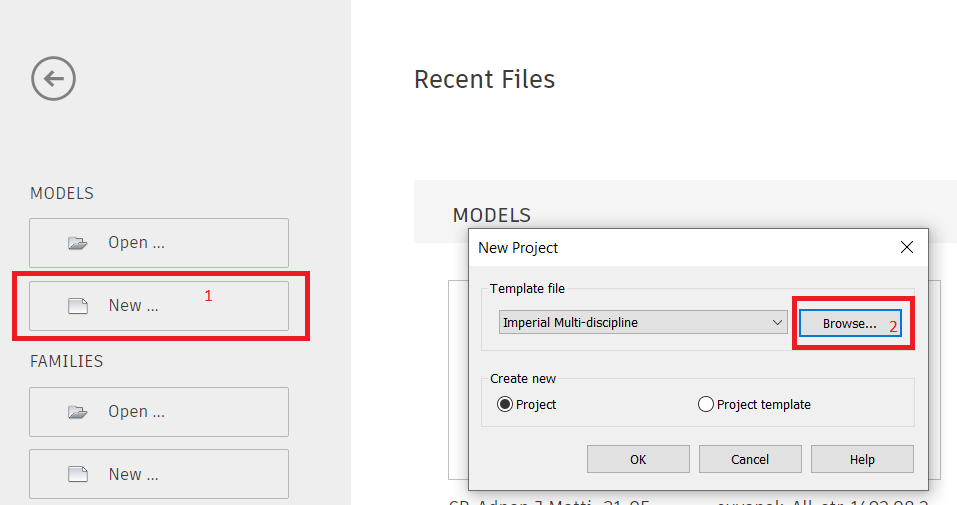
If you do not have a Revit MEP project already opened, please create a new project. When the new project window pops up, click on browse.
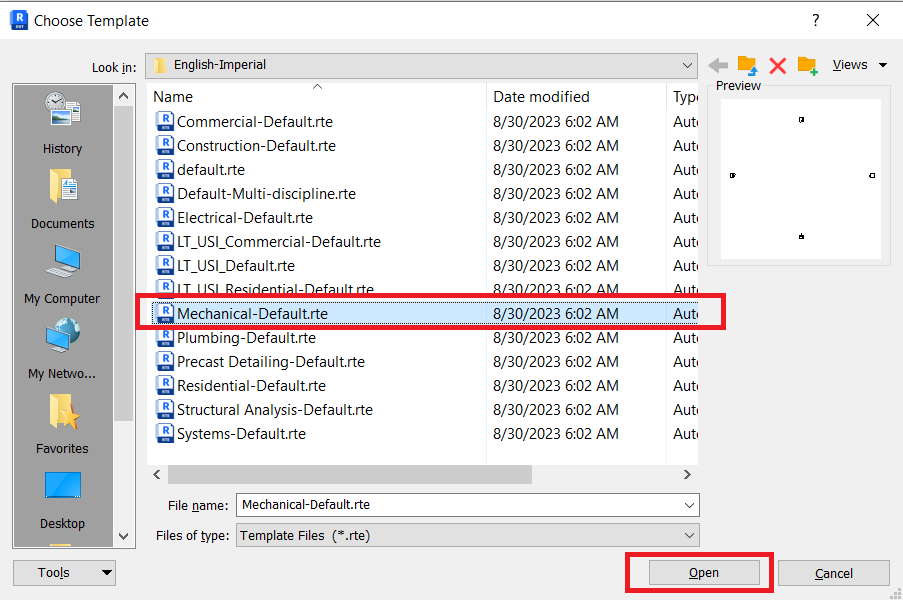
Choose the Mechanical-Default template and click open. Click ok in the next window to start your Revit MEP project.
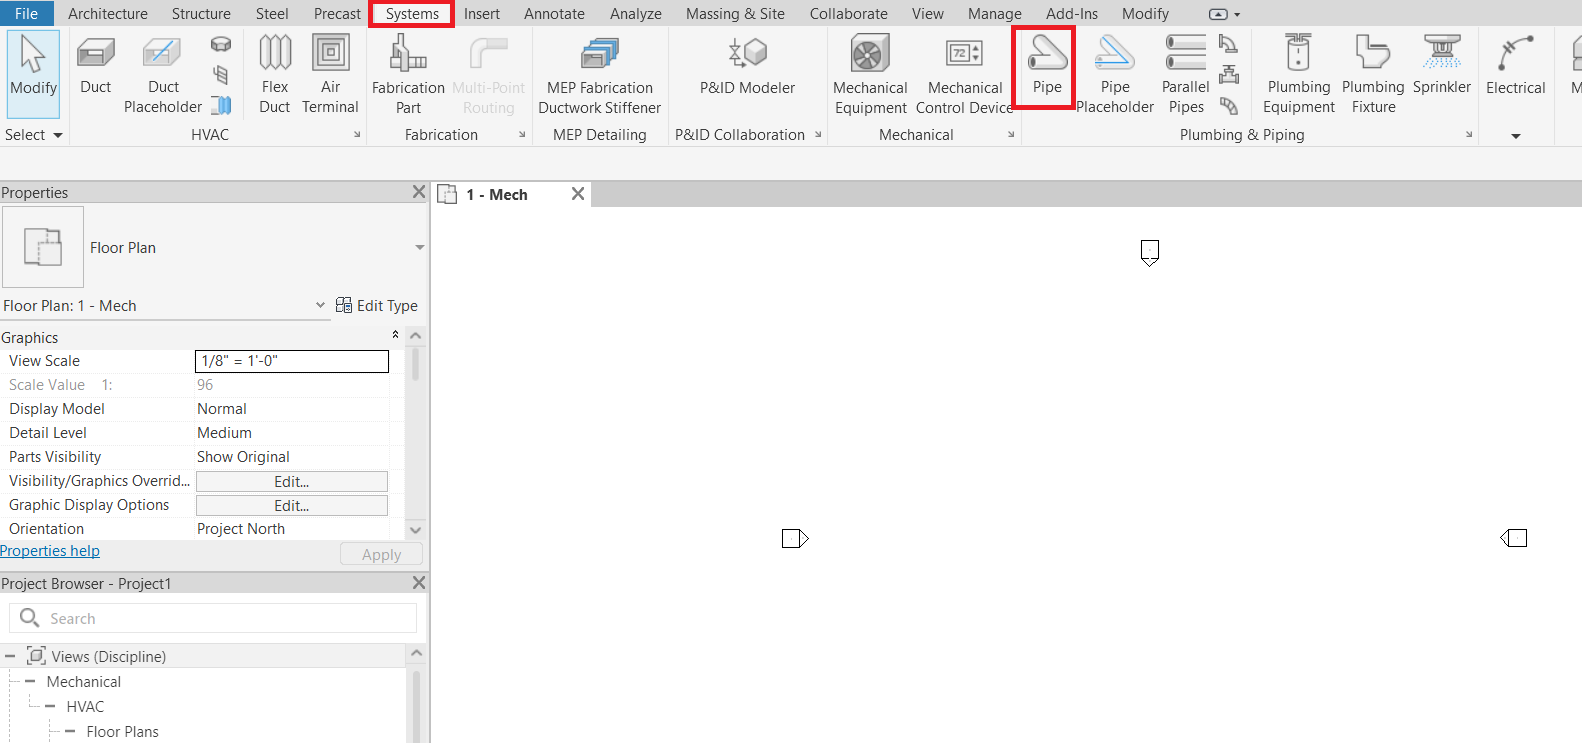
To draw a pipe, go to the Systems tab and click on Pipe.
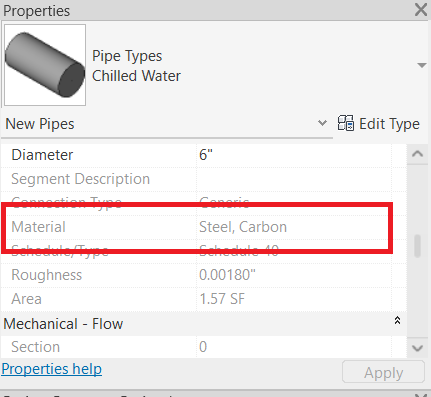
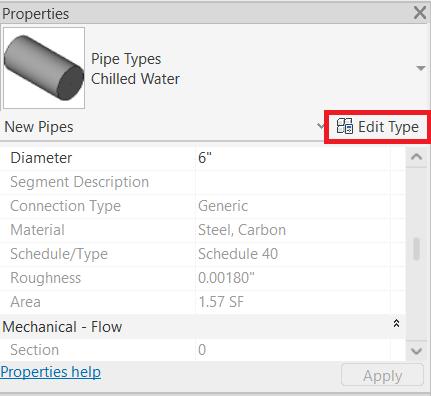
If you click on the pipe type in the properties palette, you see that only two options are available by default: A) Pipe Types Standard and B) Chilled Water. If you select each of these types and scroll down the properties palette, you can see the material for each of these two types: the standard pipe is made of copper, and the chilled water pipe material is steel.
But what if you want to create a pipe with a different type of material? In that case, click on Edit Type in the properties palette.
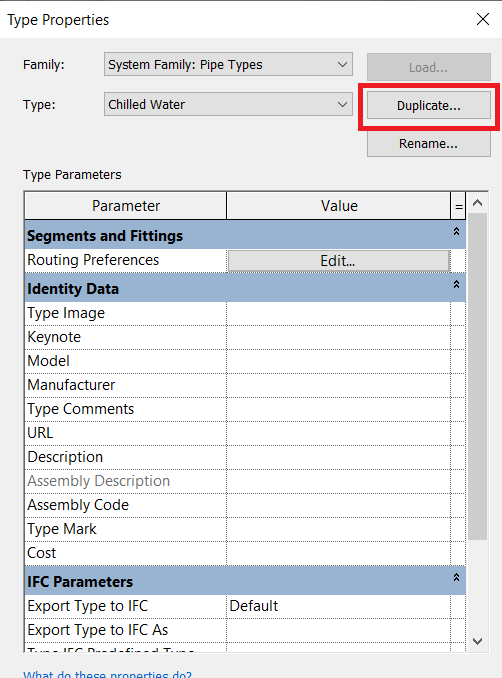
When the Type Properties window shows up, click on Duplicate.
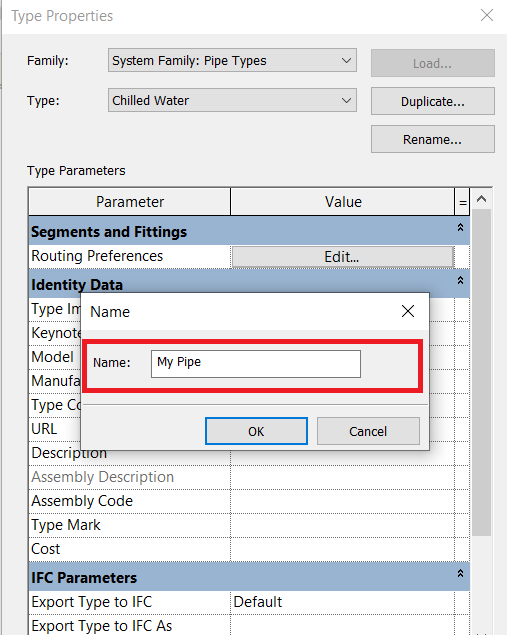
Name the new duplicate to anything you like, and click ok.
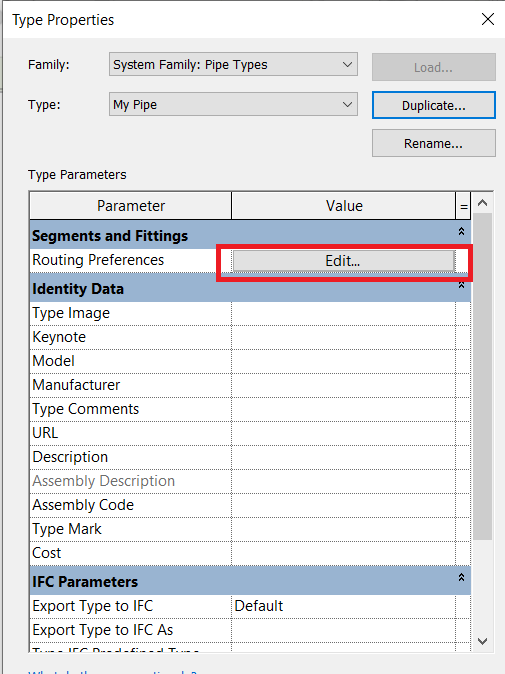
Now, a duplicate of the previous pipe type is created with the new name. To change the pipe material, click on Edit for the Routing Preferences.
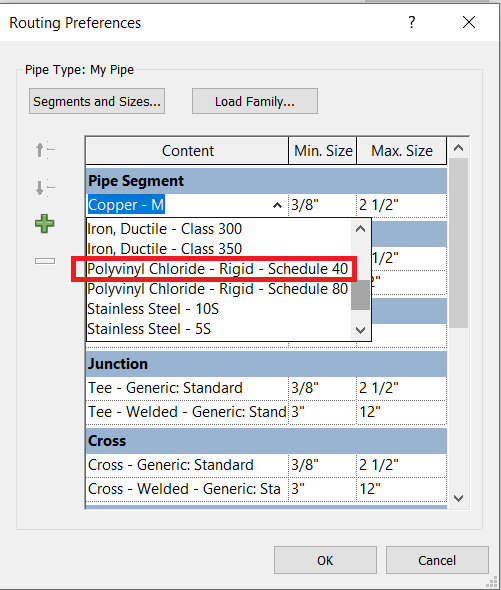
In the Pipe Segment section, if you see two segments listed, just remove one of them by clicking on it and then clicking on the minus sign.

Then, with only one Pipe Segment remaining, change the pipe segment to the segment type you prefer, for example, Polyvinyl Chloride (PVC) – Schedule 40.
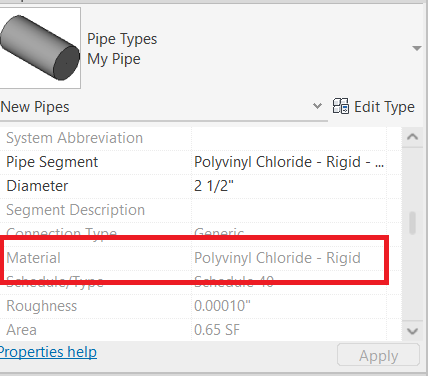
Click on ok, and then ok again. You can see that the pipe material is now Polyvinyl Chloride in the properties palette.
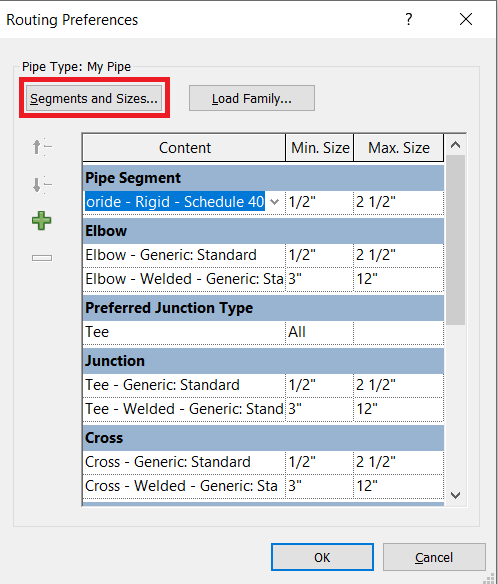
But what if you want to create a pipe with a different material that is not listed in the Revit pipe segments, such as concrete? In that case, you need to go back to the Routing Preferences window and click on Segments and Sizes.
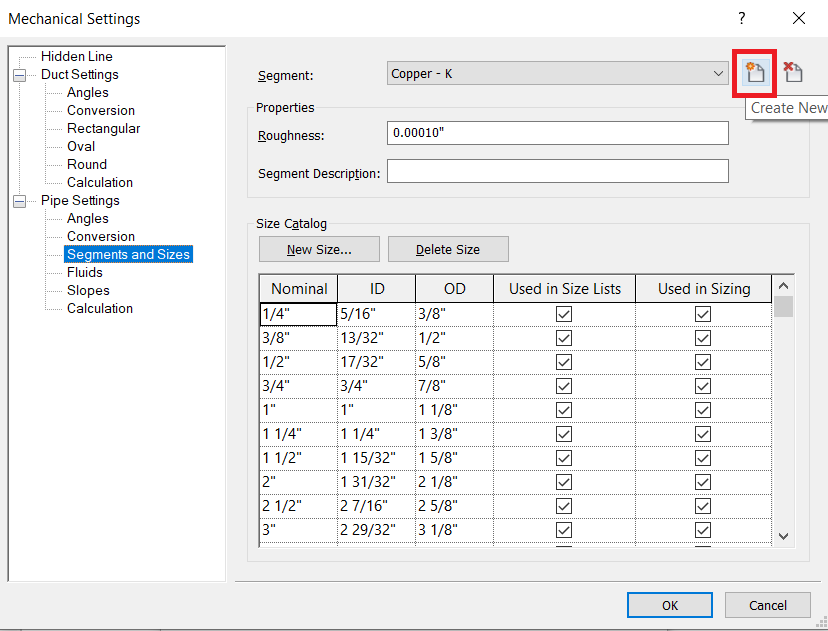
When the Mechanical Systems windows shows up, click on Create New Pipe Segment.
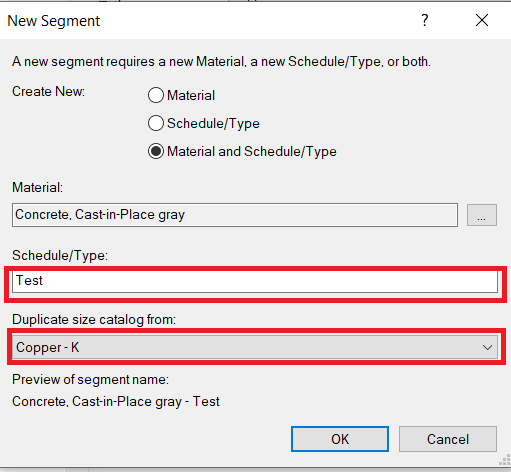
In the New Segment window, select “Material and Schedule/Type,” then click on the rectangle with three dots in front of the material.

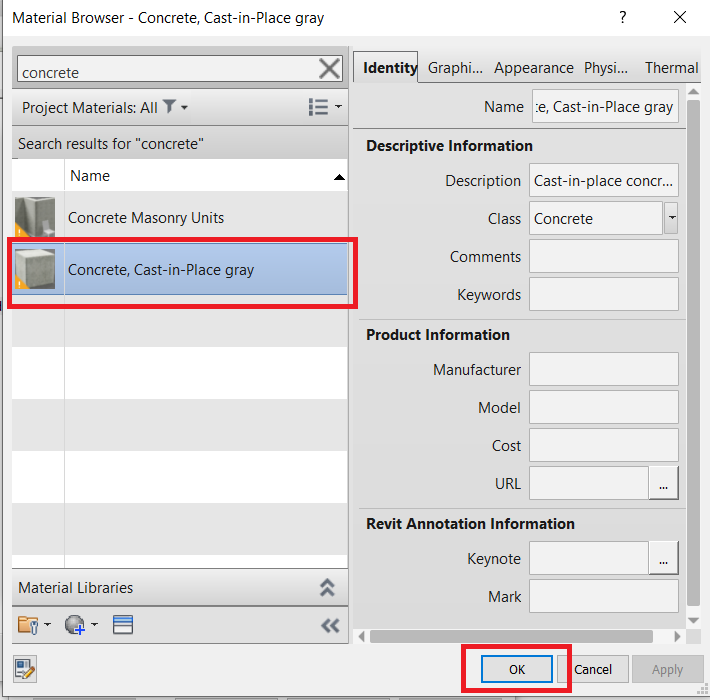
In the Revit Material Browser, select the material of your choice (for example, concrete) and click on OK.
Then, type a schedule/type and duplicate sizes from a catalog. You can change the pipe sizes later once you click on OK.
You can delete sizes or add new sizes from the Mechanical settings

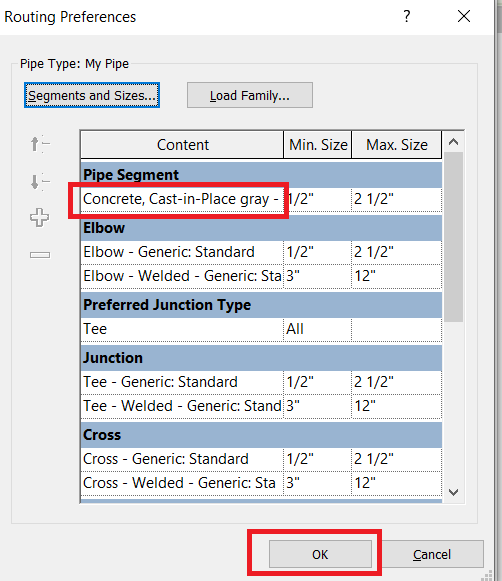
Click on OK once you are satisfied with pipe sizes to go back to the Routing Preferences window. Change the pipe segment to the new segment you just created and click on OK.
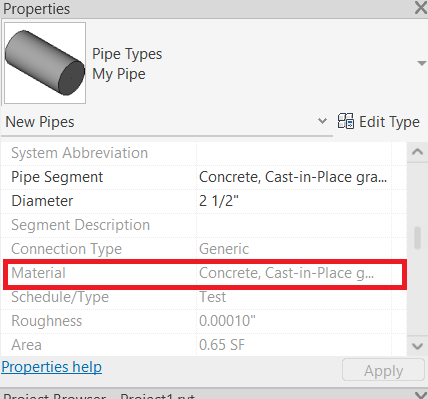
Click on OK one more time, and you are back to your view. You can see in the properties palette that the pipe material has been changed to the material you specified.
You can now start creating pipes with the new material in Revit. Please visit NovelBIM if you need Revit services.