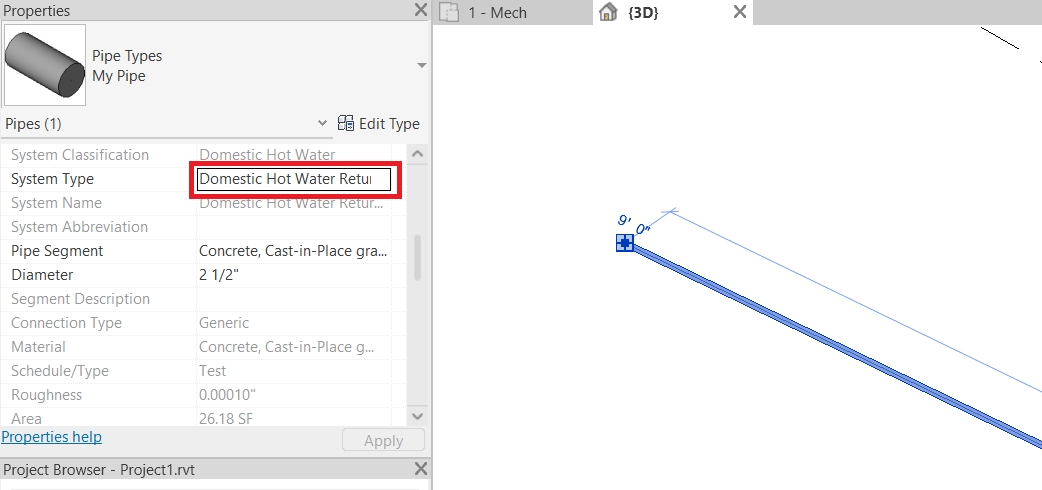
This post illustrates how you can create a new System Type for pipes in Revit and name the System Type as you wish. Before you read the rest of the post, please keep in mind that you can always contact NovelBIM if you need Revit/BIM services.
If you click on a pipe in Revit and look at the properties palette, you can see and change the System Type from the properties palette.
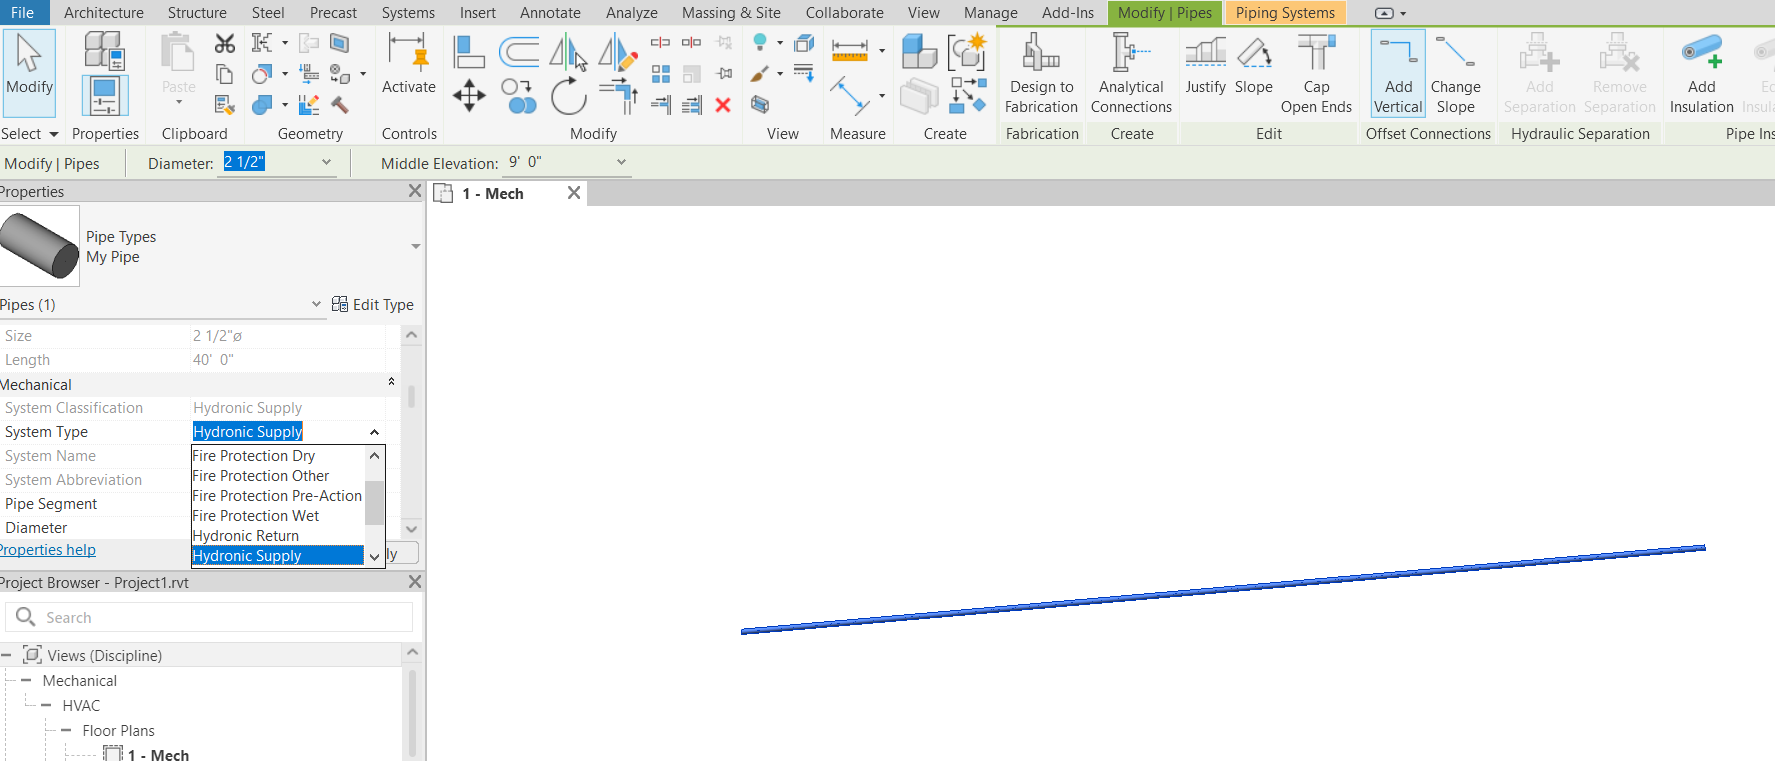
By default, Revit has the following system types:
• Domestic Cold Water
• Domestic Hot Water
• Fire Protection Dry
• Fire Protection Other
• Fire Protection Pre-Action
• Fire Protection Wet
• Hydronic Return
• Hydronic Supply
• Other
• Sanitary
• Vent
But what if you want to have a system type with a different name? For example, “Storm” or “Domestic Hot Water Return”?
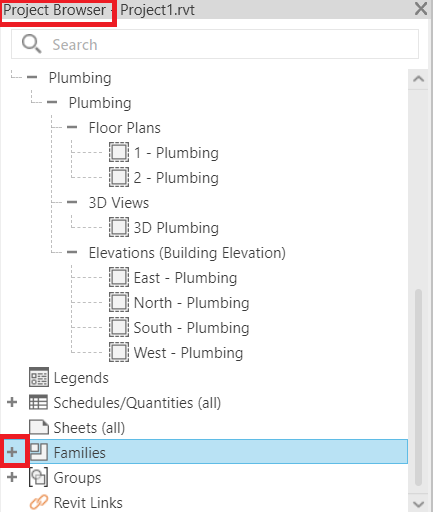
To do so, go to the Project Browser and click on the plus sign next to the families.
Find Piping Systems under the families and expand it until you see all the piping systems. Right-click on “Domestic Hot Water” and click on Duplicate.
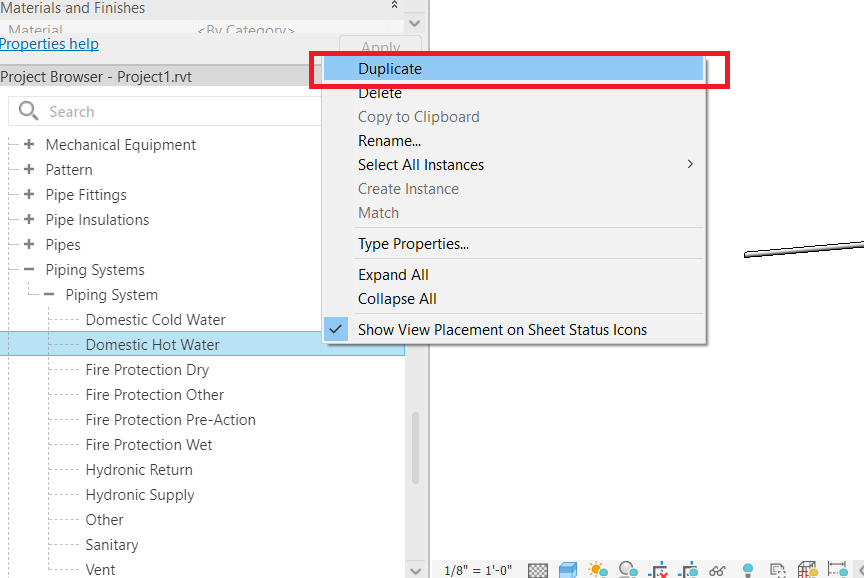
You can see now that a duplicate is created with the name “Domestic Hot Water 2”
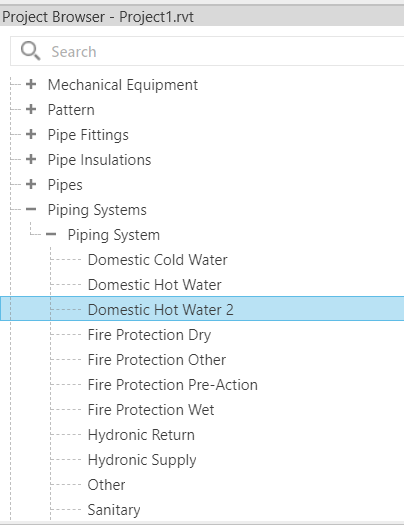
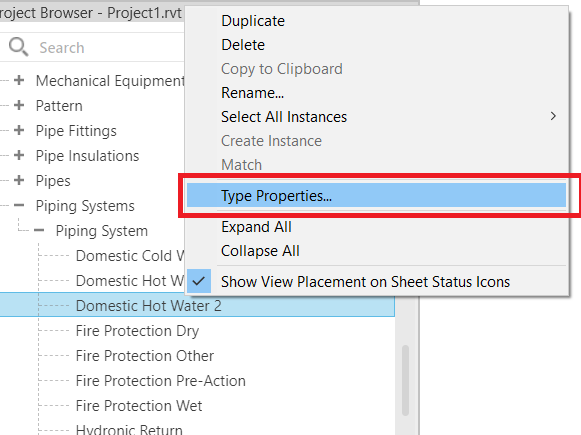
Right-click on “Domestic Hot Water 2” and click on “Type Properties”
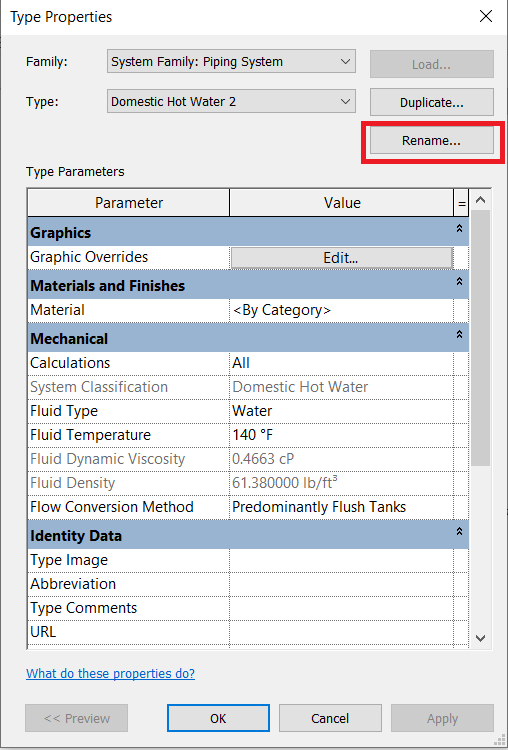
The type properties window shows up, in which you click on Rename.
Rename the pipe to “Domestic Hot Water Return” and click on OK.
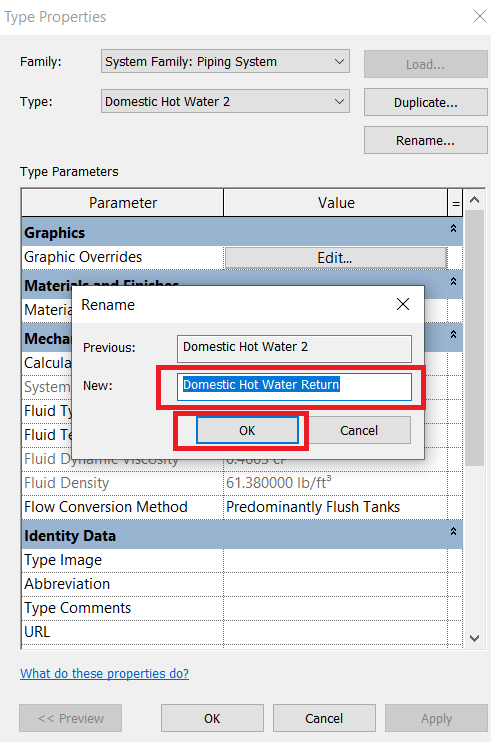
You can see that the Type name is changed here. You can even override the graphic of this type if you like from the “Graphic Overrides” property. You can change other properties as you wish. Please note that you cannot change the “System Classification.” So, which Piping System you choose to create the duplicate from is very important. Click on OK once you are done editing.

You can now select a pipe and change its System Type to the new Type you just created.
